
4 steps to backing up your digital photos
When my mom was growing up, my grandpa owned a gas station in the country. It was one of those places where you went for gas, ice cream, a beer and a hot dog. ‘The Station’, as my family called it, was my grandfather’s dream, but in the mid-60s, a fire destroyed it, and it was never rebuilt.

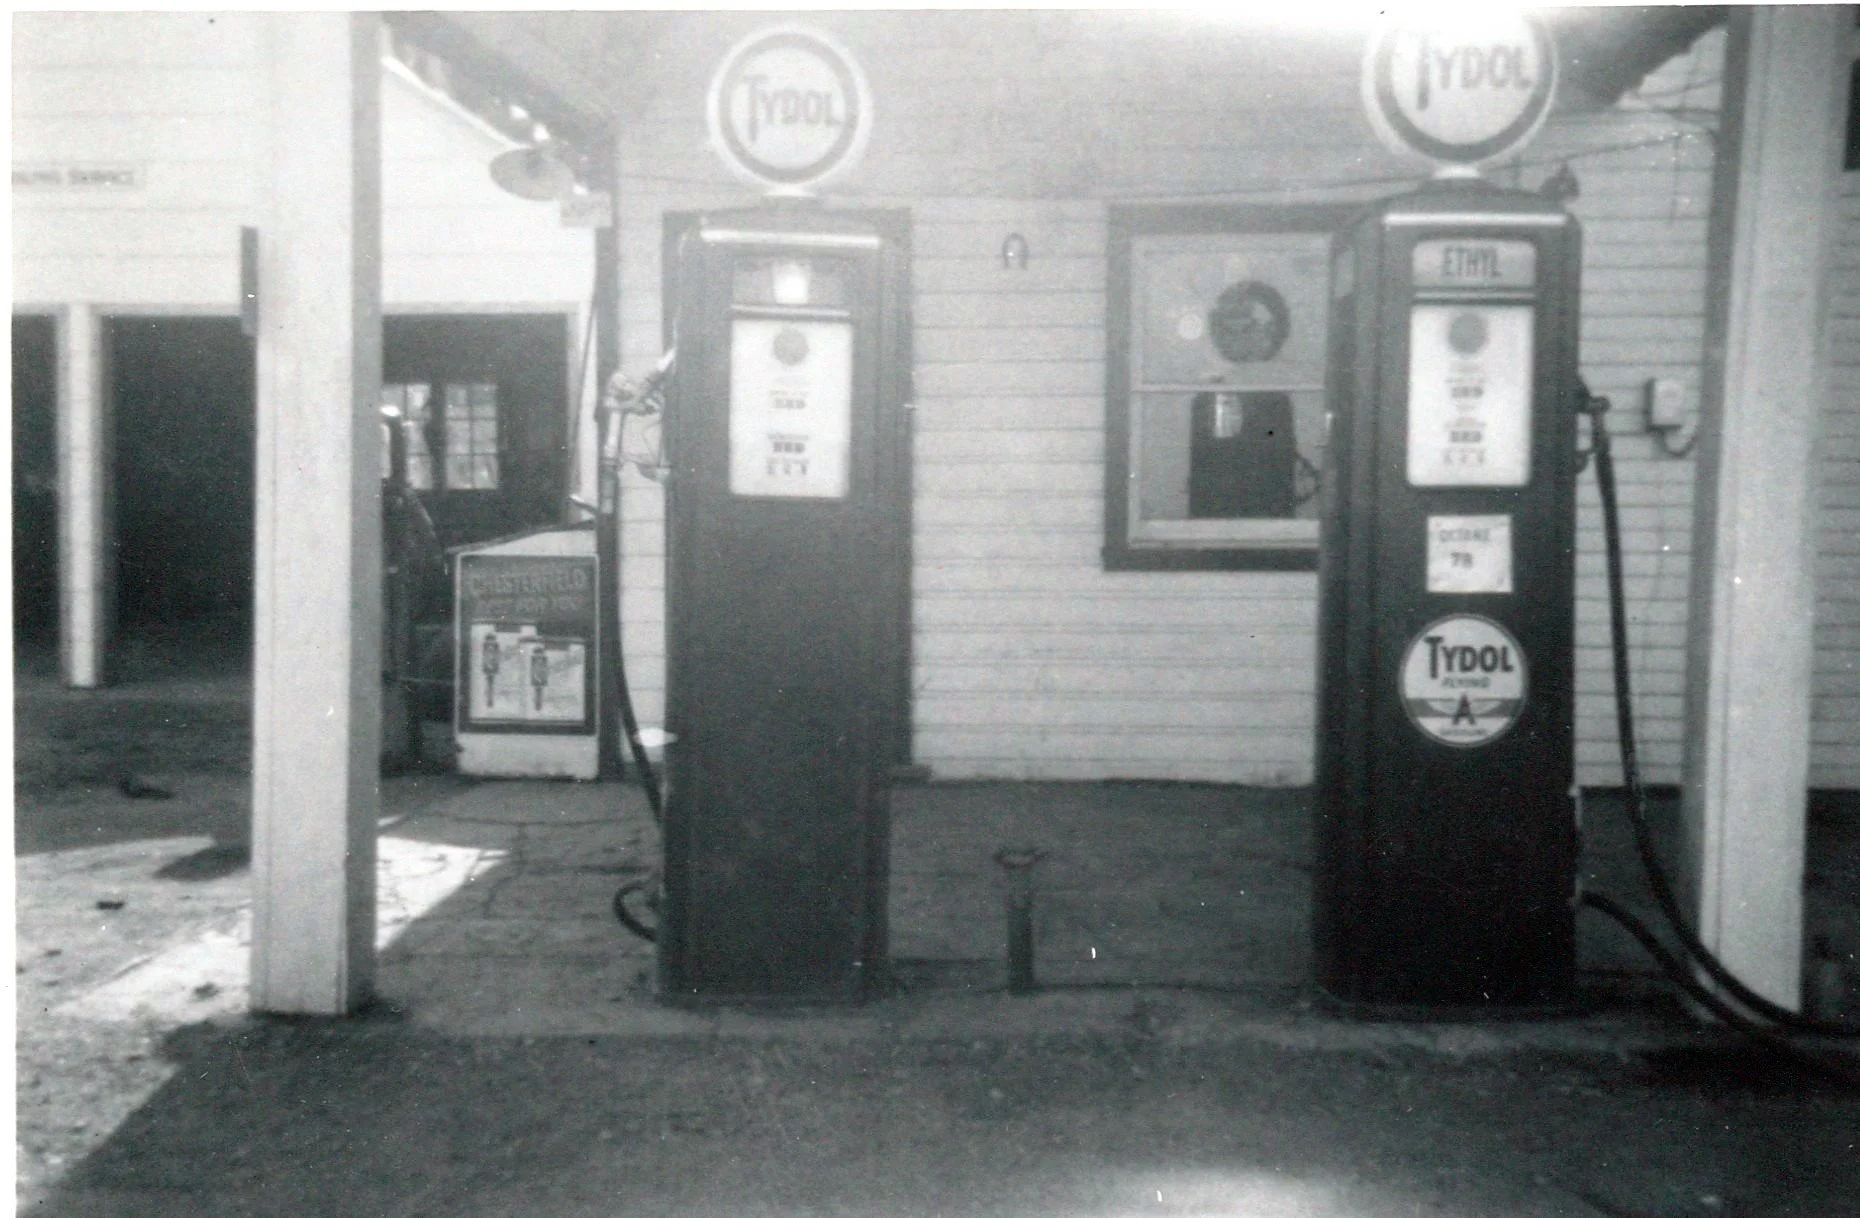

Until 2019, I had NEVER seen a photo of The Station. When I discovered 3 photos of it in an old box of my mom’s memorabilia, it was like finding gold. I immediately scanned and preserved them. Had I not found these photos and added them to our digital collection, that part of my family’s story would be lost forever.
If we want our family stories to be passed on, we need to protect them. The future is digital, which means that we not only need to scan our most important printed photos, but we need to be intentional with how we safeguard our digital memories.
Here are 4 essential steps for how to preserve and keep your family’s digital memories safe:
Step #1 – Take Inventory
Before you can preserve your photos, you need to know where they are. Making a list of the places where all of your digital photos are living is key. Your digital collection could include photos and videos from computers, phones, external drives, memory cards, CD/DVDs, and cloud services.
Doing this will help you:
Get started. Nothing is more overwhelming than not knowing where to start and the #1 thing that people tell me is that they’re overwhelmed;
Create a plan so you can prioritize what needs attention first; and most importantly,
Back them up. A collection that is all over the place is very hard to keep safe.
For an Inventory Form and some tips on getting started, you can find a FREE Getting Started Guide on our website.
Step #2 – Create a Digital Hub
Once you know where your photos are, you need to give them a home. We call this your digital hub. Your digital hub is the centralized, primary storage location for all of your digital photos and videos. We recommend that you store your photos on either:
the hard drive of your computer; or
an external drive if you don’t have space on your computer (Find recommendations for external hard drives on CYP’s Resources page)
We don’t recommend making a cloud service (e.g. iCloud, Google Photos, Amazon Photos, etc.) the one and only place that your digital memories live.
I love a cloud service for backup, accessing your photos from your phone and other devices, and sharing, but I don’t recommend relying on one as the only place your memories live. 15 years of experience rescuing photos from cloud sites that have changed their policies or gone out of business has taught me that owning a copy of your photos is your first line of preservation.

So where do photo organizing software and apps fit in?
Think about photo organizing software, apps, and cloud services, as tools to help organize, manage, and access your collection. I love a photo organizing system or process that…
allows me to store a full resolution, original copy of my photos on my computer or external drive;
includes a cloud service that gives me the ability to access all of my photos from my phone and provides a backup; and,
has a camera roll app that automatically transfers my photos from my phone to my computer.
The native tools on your PC and Mac can both be set up to achieve this using Microsoft File Explorer/OneDrive on the PC, and Apple Photos/iCloud on the Mac, as can other photo organizing software tools.
Step #3 – Consolidate Your Digital Photos
Once you’ve established and set up your digital hub, it’s time to get them all into one place. You can start by creating a central folder in either File Explorer or Finder.
Within that folder, create subfolders for each source (e.g. computer, phone, external hard drives, memory cards, flashdrives, Cloud sites). Then, copy (don’t move, just in case something goes wrong) the photos from each of those respective sources into these folders.
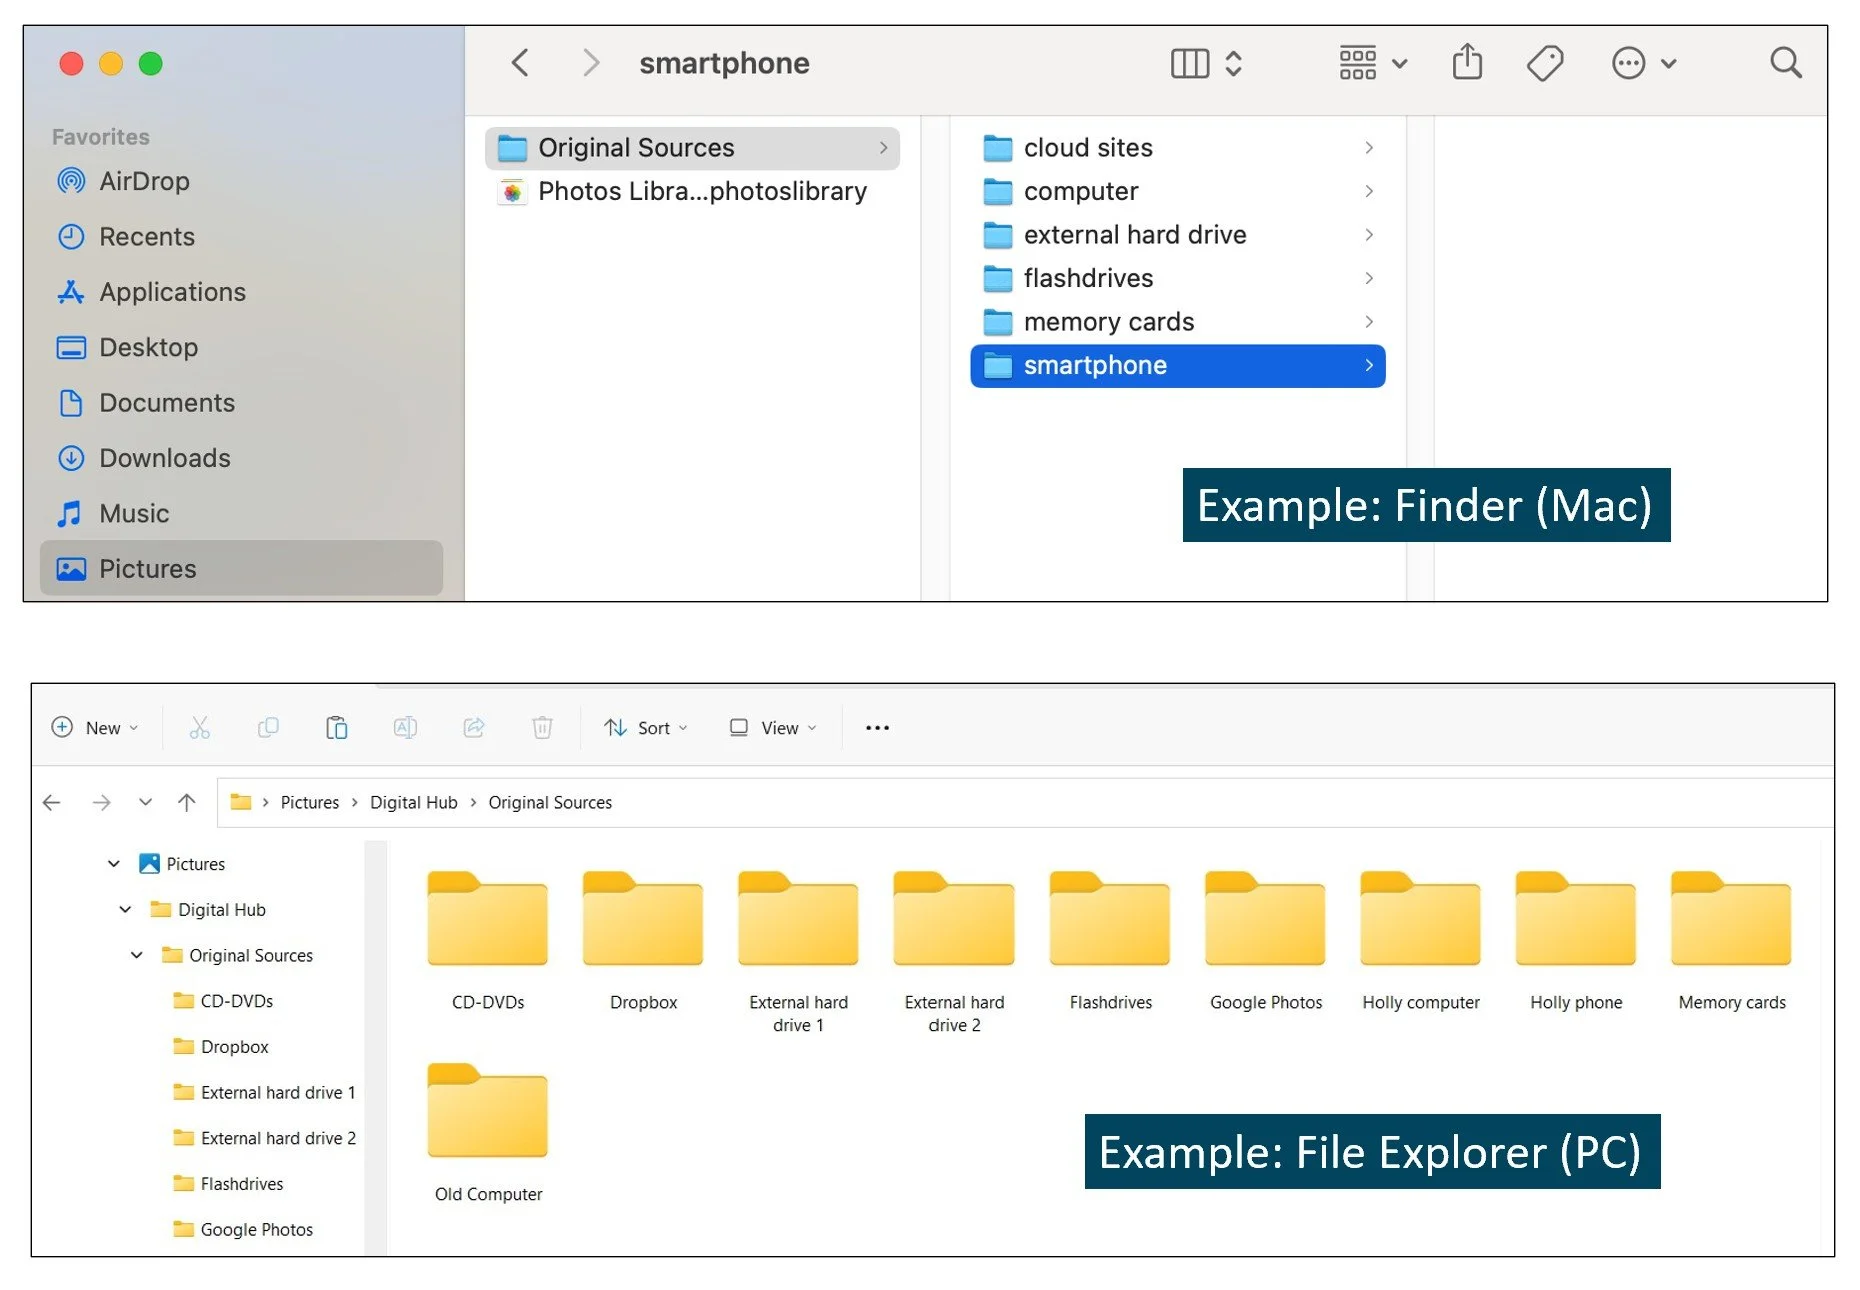
This allows you organize them really efficiently, import them into a photo organizing system or app if you choose, and back them up more easily.
Step #4 – Back Up Your Digital Hub
Backing up your photos is essential to protecting them against technology fails, mother nature, or human errors.
Best practice for backup is maintaining 3 copies of your digital memories:
Full-resolution originals stored on a computer hard drive or external drive
Copy on a second external drive (different device)
Offsite copy (cloud service or external drive in another location)
Cloud services are my preferred offsite option for a few reasons. The first is that they are automatic. Most cloud services can be set up to automatically backup your photos so you don’t have to remember to do it. Second, they make accessing and transitioning your photos and videos between devices very easy.
While some people resist paying the nominal fees that some cloud services charge, I believe it’s a small price to pay for the peace of mind and protection it provides.
Your photos matter. Your stories matter. And taking the time to set up systems to keep them safe is one of the best gifts you can give to yourself and your family.
Overwhelmed with the thought of finding photos for a project? Getting started organizing your photos can be the hardest part! Grab our FREE GETTING STARTED GUIDE that includes tips for how to create a plan, how to take inventory of your collection, and provides the form to do it.

Holly Corbid is the Founder/Owner of Capture Your Photos, where we help you to organize, preserve, and share your lifetime of memories. Helping you touch hearts with your photos is our passion. We specialize in digital photo organization and work remotely with clients all over the country.
Looking for a DIY solution? Check out our series of online courses, The Photo Organizing Blueprint.
Find us at www.captureyourphotos.com or contact us here.